Micropython on ESP32

I guess I cannot avoid using Python. As much fun as Node.js is and as much as I like the ability to do work in the background, a lot of my simpler scripts use async/await which reduces the program to simply do its work one line at a time. And in order.

Python on normal Linux machines is way too boring. Running it on an ESP32 is far better: I got plenty examples using Espruino (JavaScript), so I can use those to re-program them in MicroPython. Should be easy, right?

Step 1: Install MicroPython

./esptool.py --chip esp32 --port /dev/ttyUSB0 erase_flash
./esptool.py --chip esp32 --port /dev/ttyUSB0 --baud 460800 write_flash -z 0x1000 esp32-20190125-v1.10.bin

You should now be able to connect to /dev/ttyUSB0 (115200 bit/s) and get the Micropython REPL. Get the ESP32 binary from here. esptool from here.

Step 2: Install ampy

ampy is used to upload and run Python programs on your microcontroller.

pip install adafruit-ampy --user

Now you can do things like showing the internal flash filesystem:

ampy --port /dev/ttyUSB0 ls
export AMPY_PORT=/dev/ttyUSB0
ampy ls
ampy get /boot.py

Step 3: Run a simple program

def do_connect():
    import network
    wlan = network.WLAN(network.STA_IF)
    wlan.active(True)
    if not wlan.isconnected():
        print('connecting to network...')
        wlan.connect('sauerkraut2', 'AntonAnton')
        while not wlan.isconnected():
            pass
    print('network config:', wlan.ifconfig())

do_connect()

Save this as a file (e.g. wlan.py). Replace WLAN SSID and PASSWORD of course:

$ ampy run wlan.py
network config: ('192.168.22.219', '255.255.255.0', '192.168.22.1', '192.168.22.1')

So the ESP32 connected to the WLAN and got an IP 192.168.22.219!

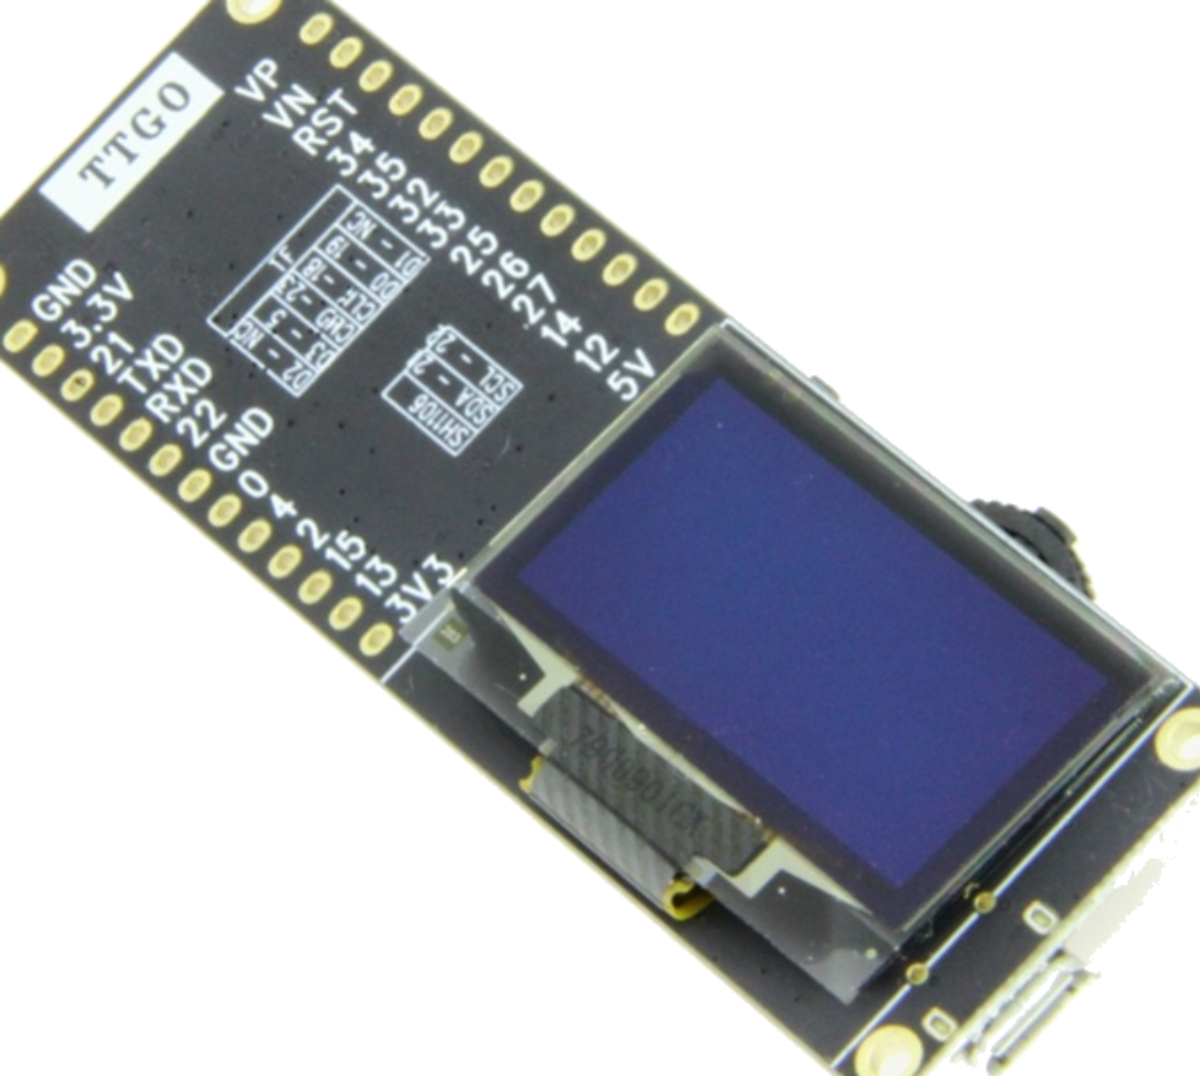
Step 4: Use the OLED

Obviously at this point you want to see the microntroller do something you cannot do by your main Linux (or Windows) machines. E.g. link a LED. Or write something on the OLED. I happen to have an128x64 OLED with a SSD1306 controller, so I'll use that. Here the program taken from here from Lauri Võsandi (call it esp32-oled-demo.py):

from time import sleep_ms
from machine import Pin, I2C
from ssd1306 import SSD1306_I2C

buf = "wubba lubba dub dub  "

i2c = I2C(-1, Pin(4),Pin(5),freq=40000) # Bitbanged I2C bus
assert 60 in i2c.scan(), "No OLED display detected!"

oled = SSD1306_I2C(128, 64, i2c)
oled.invert(0) # White text on black background
oled.contrast(255) # Maximum contrast

for j in range(0, 500):
    oled.fill(0)
    oled.text(buf[j%len(buf):]+buf, 10, 10)
    oled.show()
sleep_ms(40)

However it needs the ssd1306 module, which you can get like this:

wget https://raw.githubusercontent.com/adafruit/micropython-adafruit-ssd1306/master/ssd1306.py

and then you upload it to the microcontroller:

ampy put ssd1306.py

Now you can run your program from above:

ampy run esp32-oled-demo.py
Comments

Time on Espruino on ESP32

Espruino devices do not usually have a proper battery-backed RTC available, so the second easiest way to get a time is via (S)NTP. On Espruino on the ESP8266 this is super-simple (192.168.21.1 is my NTP time server and 9 is the timezone offset):

//ESP8266
//Wifi.setSNTP("192.168.21.1", 9);

but that does not work on Espruino on the ESP32 as Wifi.setSNTP() does not exist here (nor anywhere else). But a module for SNTP exists. This is how to use it to set the time:

// ESP32
E.setTimeZone(9);
const sntp=require('sntp');
var options = {
    host: '192.168.21.1',
    port: 123,
    timeout: 1000
};

sntp.time(options, function (err, time) {
    if (err) {
        console.log('Failed: ' + err.message);
        return;
    }
    setTime(time.T2/1000);
    //console.log('Local clock is off by: ' + time.t + ' milliseconds');
    //console.log('Full NtpMessage:', time);
}); 

Way more complicated, but it's more general on Espruino.

Comments

TTGO T-Eight and Espruino

TTGO T-Eight is a small ESP32 board from here. Small OLED, left/right/select input method, microSD slot, and 4 MB PSRAM, LiPo connector, plus of course WiFi/Bluetooth is a good combination of features. The problem as usual is the lack of documentation. The situation is even worse in this particular case:

  1. The official git repo is outdated and describes only the OLED part of the old revision of the board.
  2. There's an old and new revision of the board. Luckily the silkscreen is updated, but if you copy&paste old code, you'll be possibly surprised that it won't work.
  3. There's a TTGO T8 which is similar but different. They could have called it T9, or T8a or T8D.
  4. There's no schematics so finding out what connects to what pin is somewhere between "Trust the docs" and "Detective work"

Anyway, here is what I found:

  1. SDA/SCL is Pin 21/22 as printed on the silk screen (old version: 5 and 4)
  2. microSD would then be at 5/23/18/19 as per silk screen (untested)
  3. Input is Pin 37/38/39 for right/center/left
  4. 4 blue LEDs and one red LED on the back: no idea yet. Blue could be LiPo voltage, and red one simply power

So here a small minimal Espruino program which uses the display and which can read the buttons:

// TTGO T-Eight

I2C1.setup({sda: 21, scl: 22, bitrate: 400000});

function gstart(){
 g.drawString("Hello World!",2,2);
 g.flip(); 
}

// I2C
var g = require("SH1106").connect(I2C1, gstart, {height:64});

// g.clear(); g.drawCircle(50, 32, 30); g.flip();

// Note: pushing will trigger several times (for repeat: true)
// Need to software de-bounce

setWatch(function(e) {
console.log("Right");
}, D37, { repeat: false, edge: "falling"});

setWatch(function(e) {
console.log("Click");
}, D38, { repeat: false, edge: "falling"});

setWatch(function(e) {
console.log("Left");
}, D39, { repeat: false, edge: "falling"});
Comments

Node.js v10 has fs module with promises!

I did not realize that Node.js v10 has promise support for the fs module. Why is this a big thing? It makes it possible to write call-back free code like this:

items = await fs.readdir(path);
for (var i=0; i<items.length; i++) {
  console.log(items[i]);
  }

instead of the older call-back-style:

fs.readdir(path, function(err, items) {
    for (var i=0; i<items.length; i++) {
        console.log(items[i]);
    }
});

Also error handling is so much easier now via a simple try..catch block.

And in case you get the dreaded(?) warning message from node "UnhandledPromiseRejectionWarning: Unhandled promise rejection.", then simply add try..catch blocks or explicit catch handler for promises.

Comments

WebStorm and TypeScript

Watching Uncle Bob's videos (those in particular where he refactors stuff with ease thanks to IntelliJ IDEA), I always wanted to try those IntelliJ IDEs out. Not for Java though as I'm not a big fan if it. When JetBrains did a special discount sale, I had to try it out: WebStorm for JavaScript that is. And heck, it's good. It's also complicated to set up, but it figures out a lot of things by itself, e.g. it understands package.json files, the run scripts inside, it knows linters, transpilers and so much more. But the learning curve is steep. And it takes quite some (about 20) seconds to get started. Sublime Text is way faster to start (less than 1 second), so that'll stay my go-to-choice for smaller things, but once a full project is set up, WebStorm is very helpful to have.

So this weekend I took some time to set up WebStorm for TypeScript with its transpiler, linter, unit tests etc. This video was a great help to get everything set up in a sensible way. I used another boilerplate setup for no particular reason. This is the result.

Once cloned and WebStorm is started, it'll ask to run "npm install". Let it do that. Open the file structure (top left) and you should see all files. Find "package.json" and double-click on it. Go to the section of "scripts". You should find them all automatically marked with a triangle:

If you click on the triangle for "test" and let it run it, WebStorm will:

  1. run tslint
  2. run tsc to transpile TypeScript into JavaScript into ./build/ for both source (in ./src) and tests (in ./__test__)
  3. run the tests incl. coverage checks
  4. report the result of all commands in the "run" pane
  5. Also you now have "TEST" in the configuration:

Neat! I start to like WebStorm as I can see that it's made to solve the little problems programmers have. But there's a lot of keyboard shortcuts to memorize...

Comments